

Dhokra Art Making
How to Craft Dhokra Artefact
13 Steps of Making Dhokra Crafts (Bastar Art crafts)
Introduction
India's cultural diversity comes to light in its various cultures. The country’s folk dances and handicrafts have successfully preserved its ancient art forms. One such art form is Dhokra Art (or Dokra Art). Before we dive into its making process, it will be worthwhile to know the history and origin of this ancient metal craft.
What is Dhokra Art ?
The art is a non-ferrous metal casting technique known as lost-wax casting or cire perdue (in French). This technique has been known to be in existence for nearly 4000 years. A statue of a dancing doll excavated in Mohenjo-Daro is the oldest known lost-wax technique artifact.
Where is Dhokra Art from ?
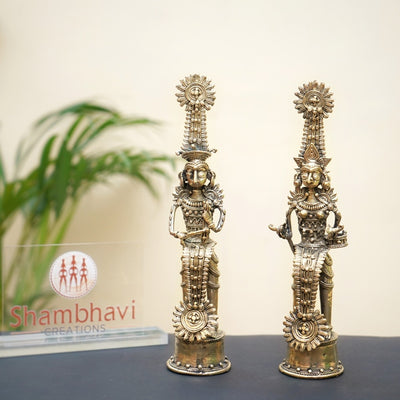
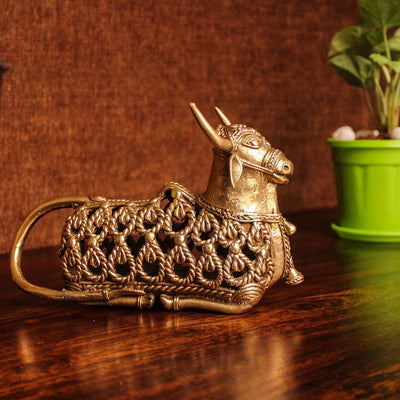
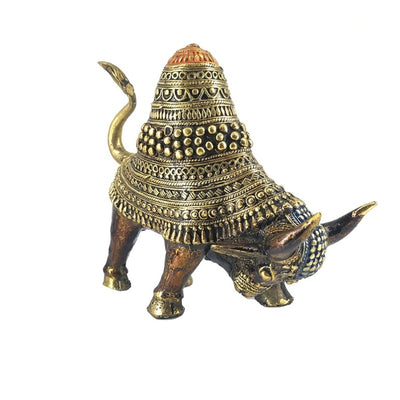
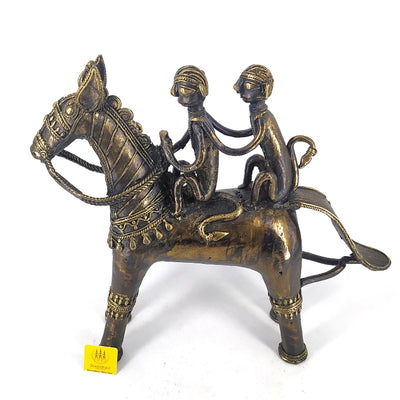
The name 'Dhokra' is dervied from the Dhokra Damar tribes of West Bengal who originally practised this art form. The dhokra casting process later spread its wings to Central, Easter and South India. There are two types of casting, Hollow Casting and Solid Casting. The hollow casting is practised in Central and Eastern parts which include Chhattisgarh, Madhya Pradesh, Jharkhand and West Bengal, while the solid casting is practised in South India region including Telangana, which was awarded GI tag for Adilabad Dhokra craft. In Chhattisgarh, the art form is also known as Bastar Art as it is predominantly practiced in the Bastar (sometime spelt as Baster) Region. In the state, it is primarily practiced by Jhara and Ghadwa tribes. The Ghadwa community and Jhara Community have presence in Bastar region and Raigarh district, respectively. An impressive variety of statues are crafted in the art form including Tribal Statues, Nandis, Horses & Elephants, Deer, and so on.
Dhokra Crafts are created using Bell Metal which is an alloy of Brass, Nickel and Zinc oxide. Even though the artifacts have their humble beginnings in clay core, they have gained immense popularity globally over the last few decades. Let us explore the thirteen steps involved in the creation of Dhokra Art.

Creating the Mould
Step 1 - The first step in the creation of Dhokra metal art is the powdering and sieving of Black mud, or Kaali mitti, which is later on used for creating the core clay model. This process is usually performed by the female section of the household.
Step 2 - A coarse clay mixture is created as it is mixed and kneaded with rice husk.
Step 3 - Once the soil dough is ready it is molded into a model which is kept in the sun and dried out completely. This step is crucial to ensure that the composite mould model is devoid of any excess water and can retain its shape throughout the process. The model can also be dried by gently firing in the oven. This clay-mud model is in shape of the final cast.
Preparing Beeswax Strands
Step 4 - A Beeswax or resin bundle is used for the next step in the process. With the assistance of an ingenious tool called Thassa, thin strands are extracted from beeswax bundles through a sieve-like tool called ‘Pichki’. The artist draws threads (as thin as 1mm in diameter) out of the wax bundle which will be then used to wrap up the clay model. This is the most crucial step in the creation of Dhokra art as it requires continuous practice to perfect the art of drawing the beeswax into thin wires and wrapping them around the mould deftly.
Covering the Mould
Step 5 - The artist then creates a sticky solution of green beans leaves colloquially known as sem and the mould is covered with it.
Step 6 - The strands created in step 4 are used to cover the mould completely.
Step 7 - Additional designs, patterns and ornaments are separately made using the wax bundle and then attached to the mould. The final design can be seen as taking shape in this stage. Tools like wooden spatula are used to smoothen out any rough surfaces of the mould.
Preparing the Outer Covering
Step 8 - In the next step, a mixture of clay, sawdust, and charcoal is created, and the mould is covered with it. The ducts are set up for wax to drain out and melted metal to take over the cavity left by the wax.
Step 9 - The mould is dried out in the sun once again and another layer of clay is applied. When this layer is dry a final covering of rice husk and dengur is given to the mould.
Baking the Mould
Step 10 - The mould is now ready for baking. The artist bakes the mould at high temperatures rising up to nearly 1100 degrees Celsius. This process melts aways the wax leaving a fine cavity between the two layers of the clay mixtures.
Pouring the Metal
Step 11 - Pieces of brass metal are melted and this molten metal is poured into the cavity through the ducts. As the melted metal hardens, it takes over and adorns the shape and design of the mould.
Step 12 - The mould is then left to cool down for at least two to three hours. Regular spraying of water helps hasten the cooling process. It also makes the mould softer and easier to break open.
The Final Product is Ready!
Step 13 - The mould is broken with a hammer and the final product is ready to add a finishing touch to. The artist uses various tools to brush, file and buff the finished product enhancing its beauty.
This Bell Metal art technique requires expertise and talent to make sure that all the 13 steps are carried out skillfully. The artist has to ensure that the mould retains its shape until the final step of the process. As detailed above, the process is extremely elaborate and time-consuming and requires years and years of practice to master. Further, each mould can be used only once, therefore, each finished product is different and unique. The final artifact can be created perfectly only when the artist has mastered the skill of working with clay as well as metal. This metallurgical form of creating art is not just one of the oldest but is also considered as the most advanced in its field. No wonder we are still mesmerized by the quaint beauty of these handicrafts.


